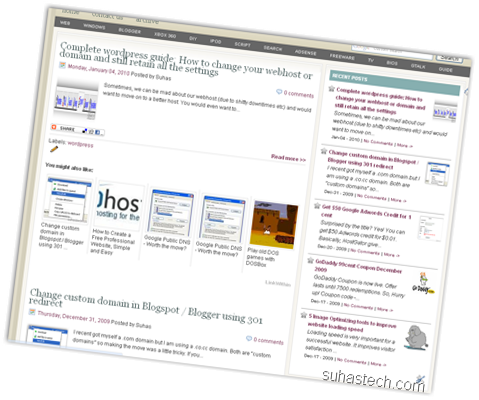
I like to keep my home page clean. The homepage Widgets like recent posts, LinkWithin, etc are some unwanted clutter. You can see here that both recent pages widget and body has the same content. Related posts widget is just unwanted.
You can just remove this this easily using conditional tags. It’s basically an if:else parser. Sort of like PHP but you can’t use Boolean expression (AND, OR, and stuff)
As of now, Blogger has introduced conditional tags for post pages, index pages, archive pages and static pages. That means, you can program widgets (or codes) in the such a way that they show up ONLY on the index page or ONLY on the archive page or ONLY on the post pages.
So, you ask what else can I do with this option. The uses are literally endless.
- You can set just the archive page to NOFOLLOW so that search engines don’t index archive pages (for better SEO).
- You can also use it show Adsense only on the post pages. Use it just below the title for better Click Through rates.
- Add meta tags to individual pages
- Hide sidebar on static pages
- and lots more..
Now, I’m going to show how to do it onRelated post widget (LinkWithin). You can use it on any other widget. This can be a little tricky for non – programmers. So, please go through this very carefully. If you still can’t get the hang of it. Please comment.
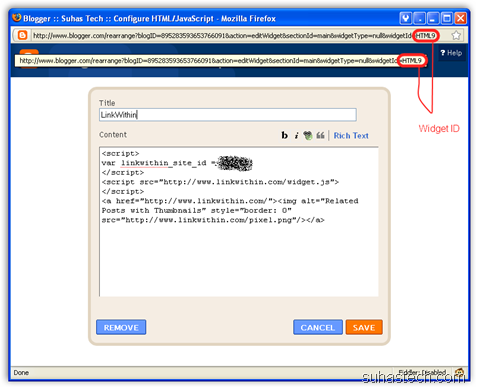
1) First, you need to know the widget ID of your widget. To find it just Go to Blogger Dashboard –> Layout –> Page element. Click on Edit.
2) You can find the Widget ID here. (Mine is HTML9)
3) Now, Go to Blogger Dashboard –> Layout –> Edit HTML
4) Check “Expand Widget Templates”.
5) Find (Ctrl + F) your Widget ID (Eg: HTML9)
6) Add this just after the b:includable tag (normally )
If you want to show the widget only on the blog post pages:
If you want to show the widget <strong>only</strong> on the <strong>index page or homepage:</strong>
If you want to show the widget only on the archive pages:
If you want to show the widget <strong>only</strong> on the <strong>a certain url:</strong>
If you want to show the widget only on the new static pages (about me, contact etc):
7) Now, add
before the
tag.
Finally, you should have something like this:
<a href="http://suhastech.com/wp-content/uploads/images/includable2.png"><img style="display: inline; border-width: 0px;" title="includable" src="http://suhastech.com/wp-content/uploads/images/includable_thumb.png" alt="includable" width="639" height="109" border="0" /></a>
8 ) Click on Save Template and it’d done.
<a href="http://suhastech.com/blogger/blogger-making-widgets-appear-only-on-post-pages-or-homepage-or-archive-pages/comment-page-1/#comment-297">Marina</a> pointed out that, if you want to hide a widget in a particular page, you can use <strong>“!=” </strong>instead of <strong>“==”</strong>
<blockquote><strong>Apparently “==” means include and “!=” means don’t include.</strong></blockquote>
<strong>Troubleshooting:</strong>
<a href="http://suhastech.com/blogger/blogger-making-widgets-appear-only-on-post-pages-or-homepage-or-archive-pages/comment-page-1/#comment-145" target="_self">AbdulGafoor</a> described a problem. Sometimes, if you define CSS rules for your widgets and use this hack to hide a particular widget. You’ll find an empty space, that’s it. To fix it, you can add this code between the conditional tags.
#WidgetID1{display:none;}
Add the code before </head> tag just after ‘]]>’


